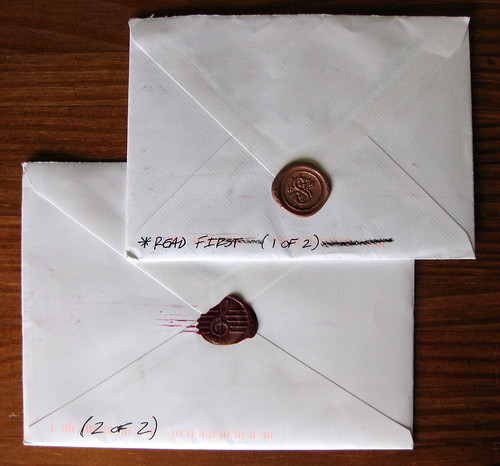
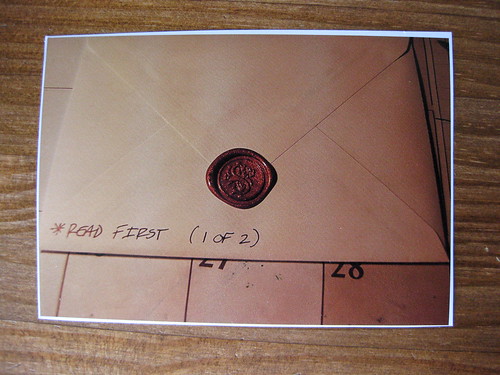
One of my wonderful fountain-pen correspondents sent me this 2-part letter, both envelopes sealed with sealing wax and a different seal. He warned me in an email that a letter was coming in 2 parts, and I'm glad he did, because of course part 1 arrived the day after part 2.

In his marvelous letter, he gave a detailed explanation of using sealing wax, along wit all these wonderful photos documenting the whole process. I have still never used sealing wax myself, but I took photos of his photos just so I could share them with you all. They're marvelous photos, and I'm not sure if my photos of the photos are doing them justice.
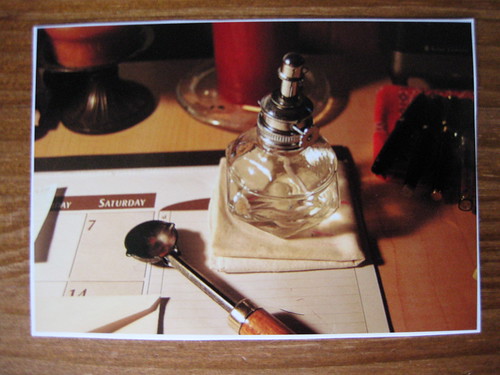
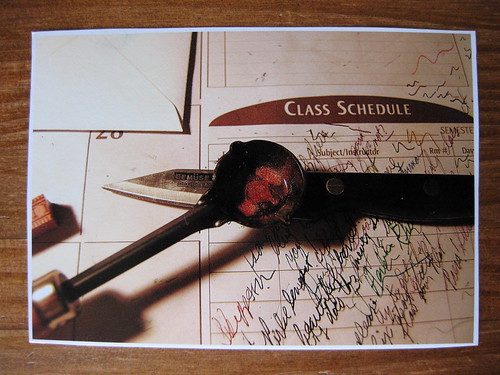
Step 1: lamp and melting spoon
Step 2: cutting the wax stick
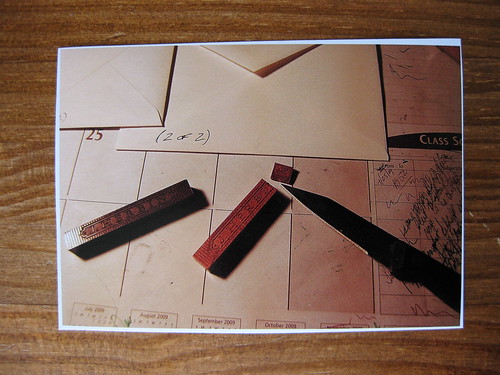
Here I'll note that he said in his letter he was initially loathe to try J. Herbin sealing wax because it was exponentially more expensive than the other brands, but he went on to explain exactly why it's exponentially better in quality, too.
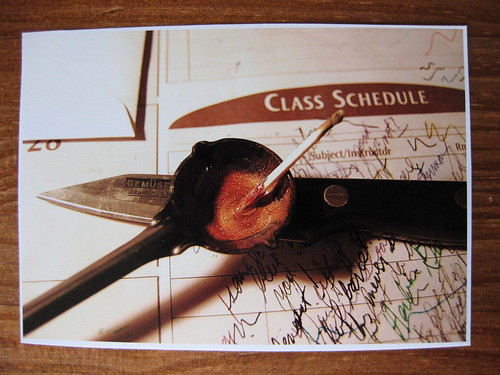
Step 3: melting the wax in the spoon
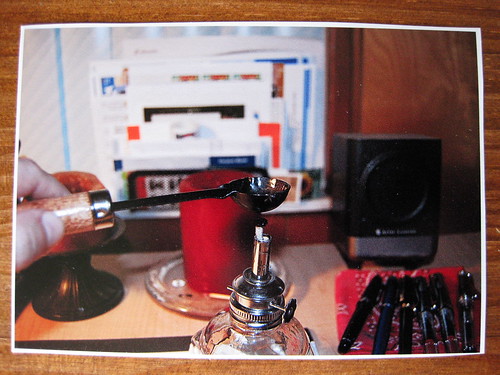
Step 4: melted wax in spoon
Step 5: stirring with a match
Step 6: the wax before the seal
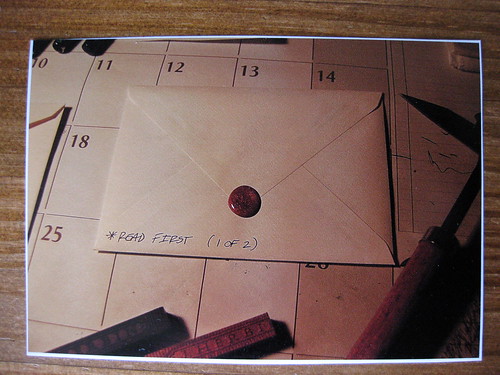
Step 7: Voila!
My meta-fancy was tickled that I got a photo of my letter, in my letter. This is probably a big part of why it came in 2 parts/2 envelopes... though it was nice and fat!
Thanks so much to the wonderful guy who sent these photos. I'll keep him anonymous unless he asks to share.
Isn't all his fancy equipment COOL?? (Yes, I'm very, very tempted...)